
Candle Care Guide: Burn Times, Wick Trimming and Safety Tips
A great candle sets the mood for your home and makes even an everyday dinner feel like an occasion. A well-cared-for candle also lasts longer, burns more evenly, and stays safer on your shelf. The good news is that candle care is simple once you know a few basics.
Here’s a friendly, step-by-step guide to help you get the most from every jar on your counter. We will cover first-burn memory, trimming the wick to about 5 mm, rotating the vessel for an even melt, safe burn windows, and the right time to stop. We will also clear up viral myths so you can skip the hacks and enjoy the glow.
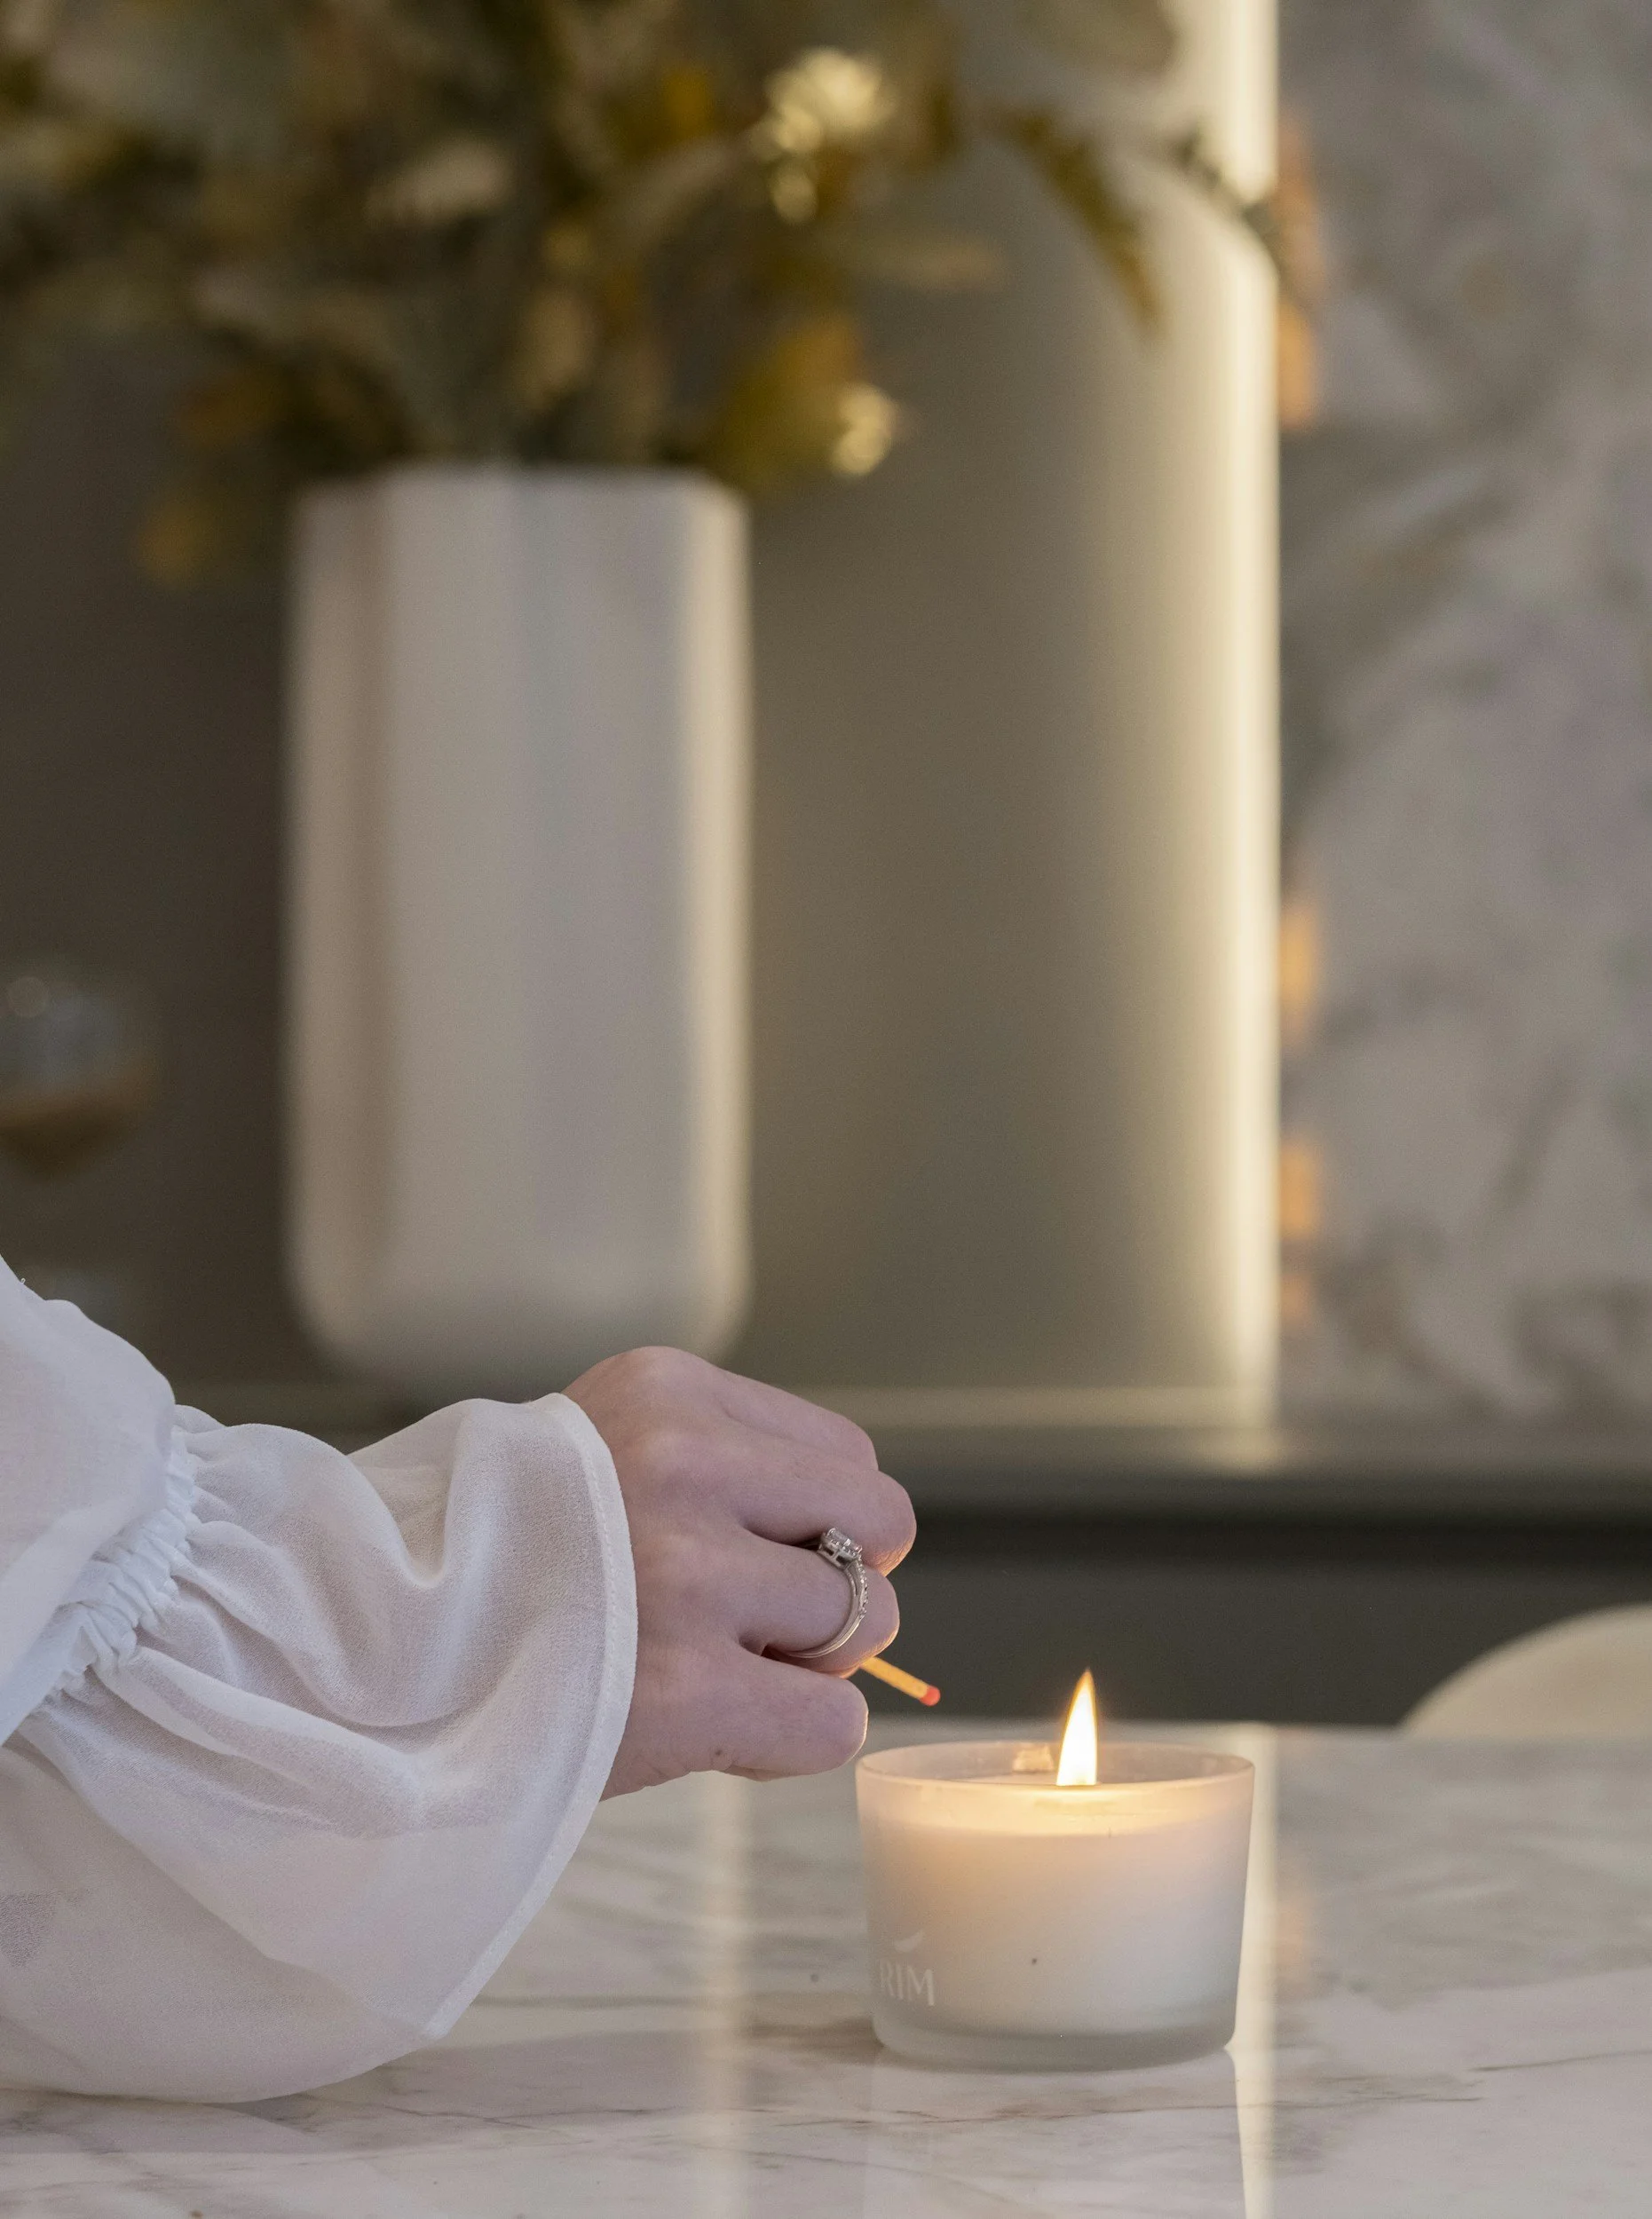
Start strong with the first burn
Candles have memory. The first time you light a new candle, let the melted wax reach the edges of the container before you blow it out. This full melt pool helps prevent tunneling, which is when wax clings to the sides and shortens total burn time. For most 8 to 10 oz jars, this takes 2 to 3 hours in a draft-free spot.
Set your candle on a heat-safe, level surface away from fans or open windows. Keep the wax free of matches or trimmings. Clear wax, steady flame, calm melt pool. The first session sets the tone for the life of the candle.
Trim tips that actually work
Before every light, trim the wick to about 5 mm. This quick step reduces soot, keeps the flame height in check, and helps your fragrance disperse cleanly. A wick trimmer reaches into jars easily, but small scissors or nail clippers work in a pinch. Always let the wick cool before trimming, and discard trimmings. Do not let debris fall into the wax.
Cotton wicks: Trim to a short, upright tip. If you see mushrooming, that carbon cap means it is time for a trim.
Wood wicks: Especially crackle-style wood wicks need a flat, level top. Pinch off the charred edge and keep the wick around 3 to 5 mm. If the flame struggles, it is often because the char is too thick.
Safe burn time: the real rules
You may have heard of a 3 hour candle rule. In practice, the safe window for most container candles is 2 to 4 hours per session. We recommend capping each burn at 4 hours to protect the vessel, preserve fragrance quality, and keep the wick from mushrooming or leaning. Longer sessions can overheat the container and accelerate soot.
Why should you never burn a candle for more than 4 hours? After several hours, the melt pool can get too deep and the wick can drift, creating a larger, smokier flame. The jar itself can become very hot, and fragrance molecules can degrade. Short, consistent sessions give you a cleaner, longer-lasting experience.
When you are done, extinguish gently. A snuffer helps avoid splatter, or you can dip the wick into the melt pool with a wick dipper and then straighten it. Always center and re-align the wick after the flame is out.
Stop with about 1 cm of wax left
It can be tempting to burn to the very bottom, but stop when around 1 cm of wax remains. That buffer protects the base of the vessel from heat stress. When fully cool, you can repurpose the jar. Do not pour wax down the drain. Instead, freeze and pop out the leftover wax, or warm with hot water to wipe clean.
Myths, debunked kindly
Spring cleaning is a great time to retire a few hacks that do more harm than help.
Salt in the wax: Does putting salt on a candle make it last longer? Not in any meaningful, safe way. Salt can cloud the surface, interfere with the wick, and create uneven combustion.
Adding essential oils to hot wax: This is unsafe. Open flames and volatile oils are a risky mix. Home additives can also unbalance the formula. Choose candles made with tested fragrance blends instead.
Capping a hot jar to save scent: Do not cover a hot candle. Trapped heat can stress the glass and smoke the melt pool. Let it cool fully before placing a lid.
A simple candle care kit
What is a candle care kit? It is a small set of tools that make upkeep fast and tidy: a wick trimmer, snuffer, and wick dipper. The trimmer keeps that perfect 5 mm height, the snuffer prevents splatter, and the dipper helps extinguish without smoke. If you are building a gifting moment, a care kit pairs beautifully with our hand-poured soy candles for a thoughtful, ready-to-use set.
If you are curating spring gifts, explore our clean burning candles and seasonal scents. Our luxury soy candles are hand-poured in New York, designed to burn evenly with fewer toxins and little to no soot, and arrive in gift-ready packaging.
Thoughtful gifts and clean choices
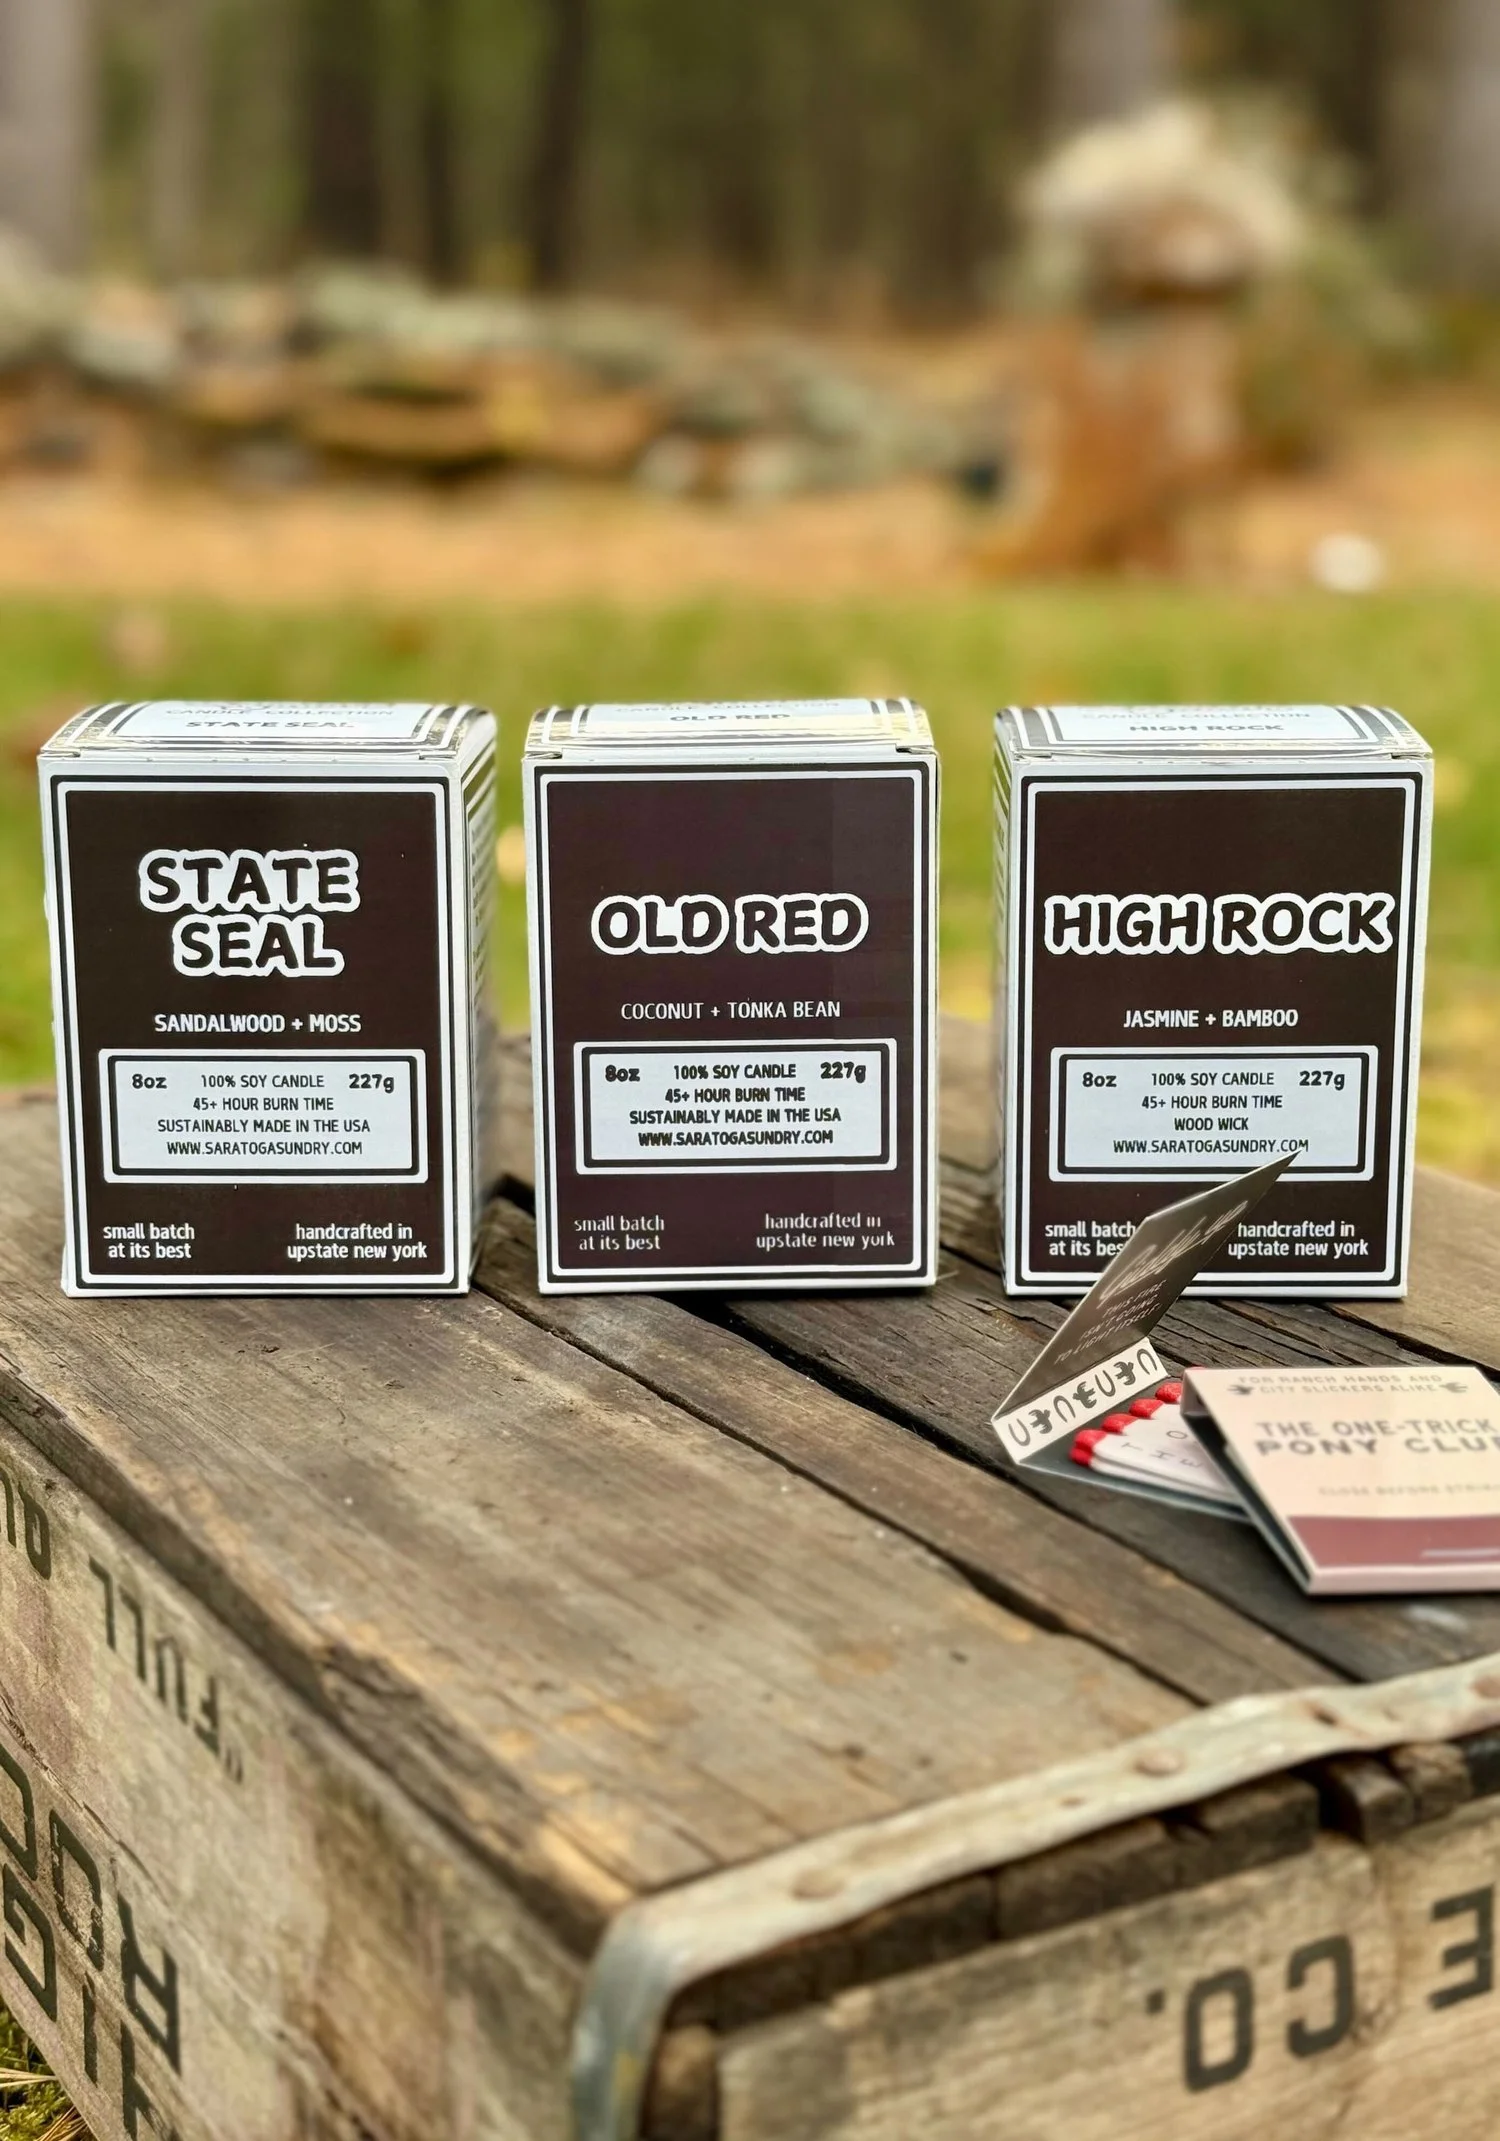
Candles shine during spring refresh, housewarmings, and host moments. Our scented candles are hand-poured with soy wax for a longer, cleaner burn, and our candle subscription box delivers a seasonal trio to your door, gift-ready and joyful. Share more than a present, share a piece of Saratoga.
For readers exploring options:
Browse our soy candles and find seasonal favorites in our shop. You will also find clean burning candles that put safety and sustainability first.
Gifting for spring birthdays or housewarmings? Our curated gift boxes make unique gifts that feel personal and ready to give.
In closing
Great candle care is simple. Give your candle a strong first burn, keep the wick at 5 mm, rotate the vessel, and cap each session at 4 hours. Skip the salt and the lid tricks, and retire the add-oil hack for good. With these habits, you will enjoy longer burn times, truer fragrance, and a safer glow all season.
When you are ready to restock or gift, explore Saratoga-inspired scents made with soy wax and thoughtful materials. If you love surprises, our candle club brings seasonal favorites to your door, right when you want a refresh.